

Expert Bathroom Remodeling Services in Santa Fe, CA: Complete Guide to Designing Your Ideal Layout
Want to update your home bath space? Read our guide on expert bathroom remodeling in Santa Fe, CA to learn about floor plans, fixtures, and cost planning. Every household needs a practical bath space that can handle busy family mornings and provide a relaxing room at night. When we return home after a tiring […]
How Professional Bathroom Remodelers in Santa Fe, CA Maximize Your Property Value and ROI

Want a gorgeous new washroom? Read our expert guide on trusted bathroom remodelers in Santa Fe, CA to learn about layout planning, tiling, and cost control. Every family needs a practical, clean washroom that handles the morning rush and offers a quiet space to relax at night. When we return home after a […]
Trusted Bathroom Remodeling Services in Vista, CA: Key Factors for a Seamless, Stress-Free Remodel

Want a beautiful washroom? Read our expert guide on trusted bathroom remodeling in Vista, CA to learn about layout planning, tiling, and costs. Every family deserves a clean, functional washroom that handles the morning rush and offers a quiet space to relax at night. When we step into our homes after a long […]
How to Replace Bathroom Vanity and Sink (Step-by-Step DIY Guide for 2026)
If you are planning a refresh, this guide will walk you through how to replace bathroom vanity and sink without confusion. Backed by real-world remodeling experience at Poseidon Remodeling, this step-by-step approach is built for DIY homeowners, first-time remodelers, and anyone preparing a home for resale. An outdated vanity can make an otherwise pleasing bathroom […]
Help Me Avoid Bathroom Remodel Mistakes: 12 Costly Errors Homeowners Make
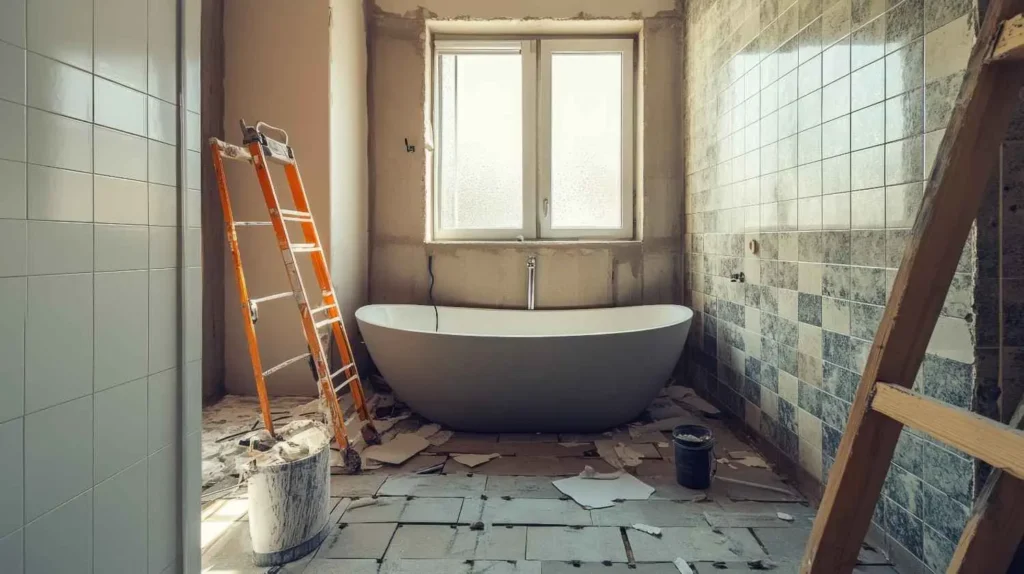
Bathroom renovation can seem simple at first, with tiles chosen, a new vanity installed and lighting changed for maximum impact. Many homeowners search online, asking, Help me avoid bathroom remodel mistakes after their project already started. Professional remodelers encounter similar problems repeatedly. At Poseidon Remodeling, most rescue projects occur because a homeowner missed one key […]
The Easiest Way to Dig Up a Plumbing Pipe During a Bathroom Remodel
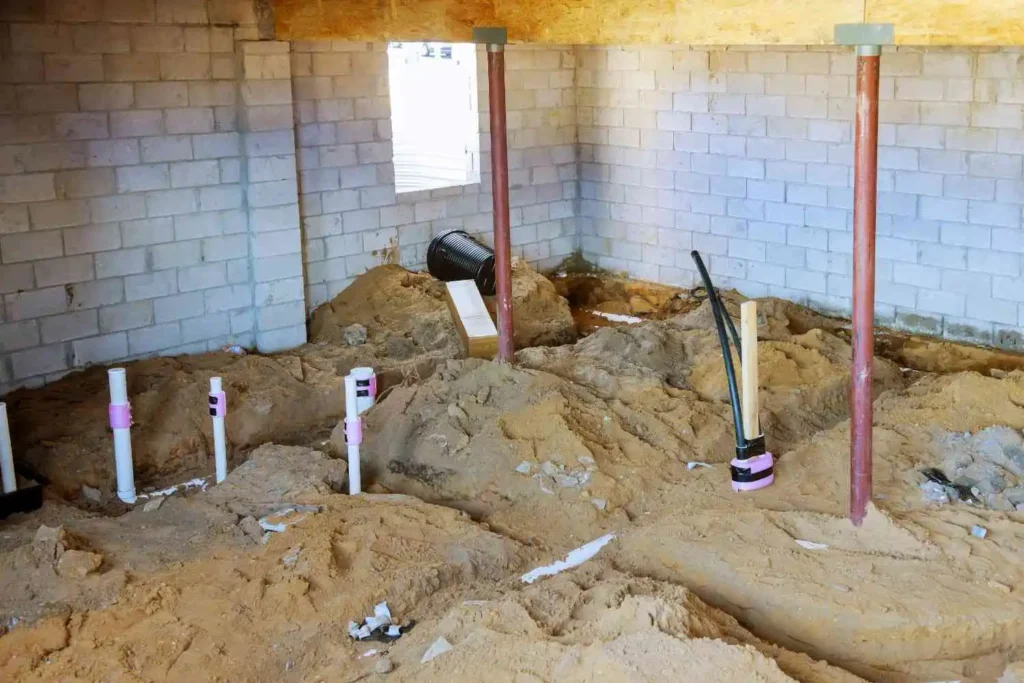
Once a pipe under your floor needs repairs, bathroom remodel stress becomes increasingly overwhelming. Homeowners frequently envision torn concrete, damaged utilities and costly repair bills as potential outcomes of DIY plumbing repairs or budget-conscious property owners looking for cost savings. But those managing minor plumbing repairs on their own often experience relief after receiving help […]
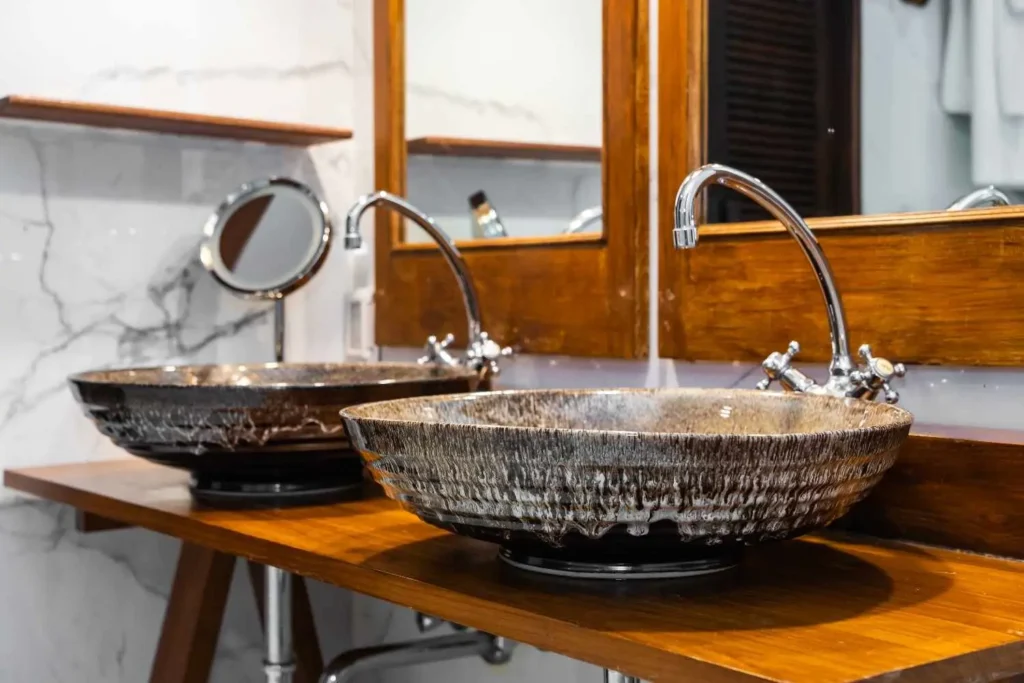
11 Black and White Bathroom Ideas That Will Transform Your Space in 2026
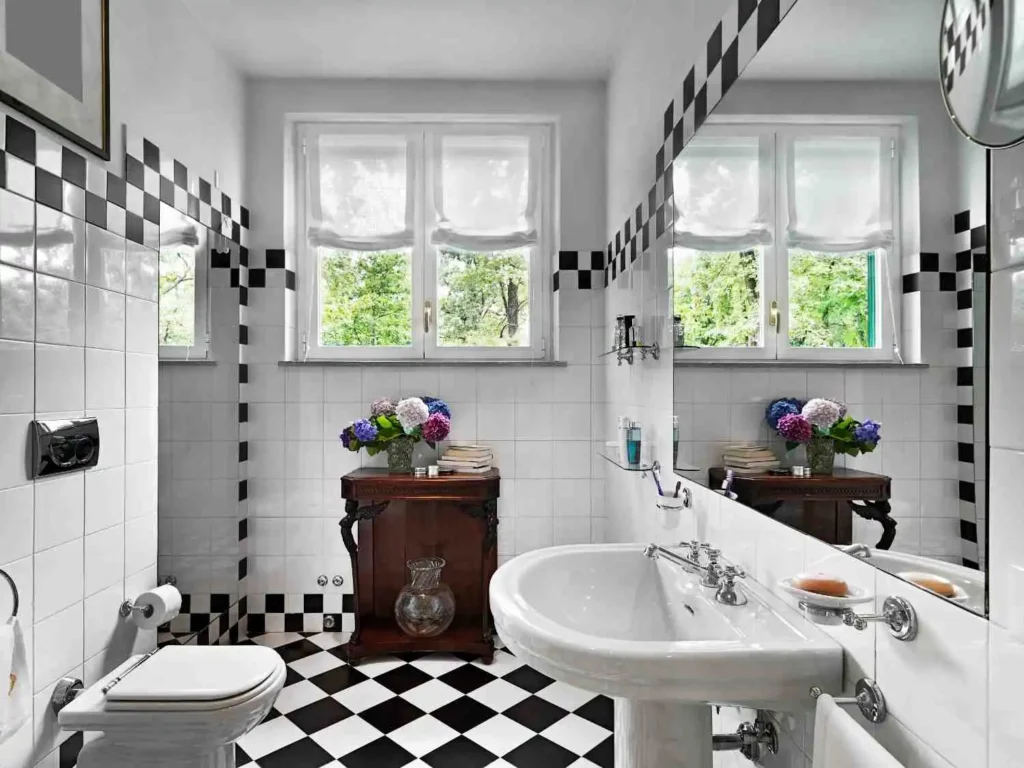
When I design Black and White Bathroom Ideas, I often start with black paint on the walls or even the ceiling, because bold choices create stronger contrast and instantly turn simple black-and-white bathroom ideas into something classic yet contemporary. The secret is how black is paired with white through tile and hardware, shaping high-contrast color […]
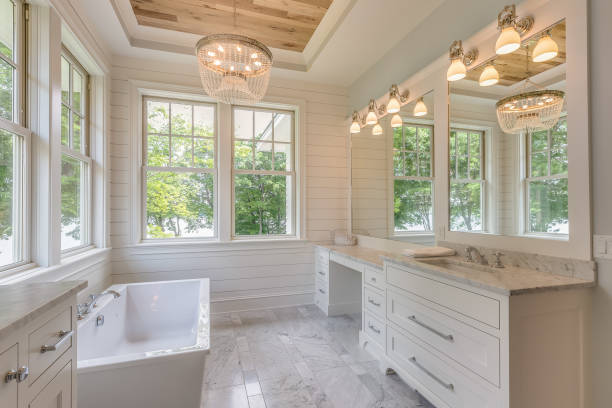
Top Luxury Bathroom Ideas for Modern Homes

A luxurious bathroom should blend functionality with opulence, using high-end materials like marble and premium tiles. Choose a freestanding bathtub, integrate smart technology, and use customized lighting fixtures. Elevate the spa experience with these Luxury Bathroom Ideas, a steam shower, heated floors, statement mirrors, and high-end fixtures. Invest in custom cabinetry and personalize the space […]
Room Additions San Diego | Add Space Without Moving in 2026

Living in San Diego often means making the most of every square foot of your home. With rising property values and limited space, many homeowners are turning to Room Additions San Diego projects as a smart way to expand their living area. Whether you need an extra bedroom, a home office, or a larger family […]
Tub To Shower Conversions: Complete Guide Cost & Benefits (2026)

Bathrooms change how people move through their homes every day. Old tubs can feel tight, slick, and hard to step into. That is why Tub To Shower Conversions are now one of the most requested bathroom upgrades. Homeowners want safety, comfort, and a cleaner look without tearing out the whole bathroom. A well-planned conversion solves […]